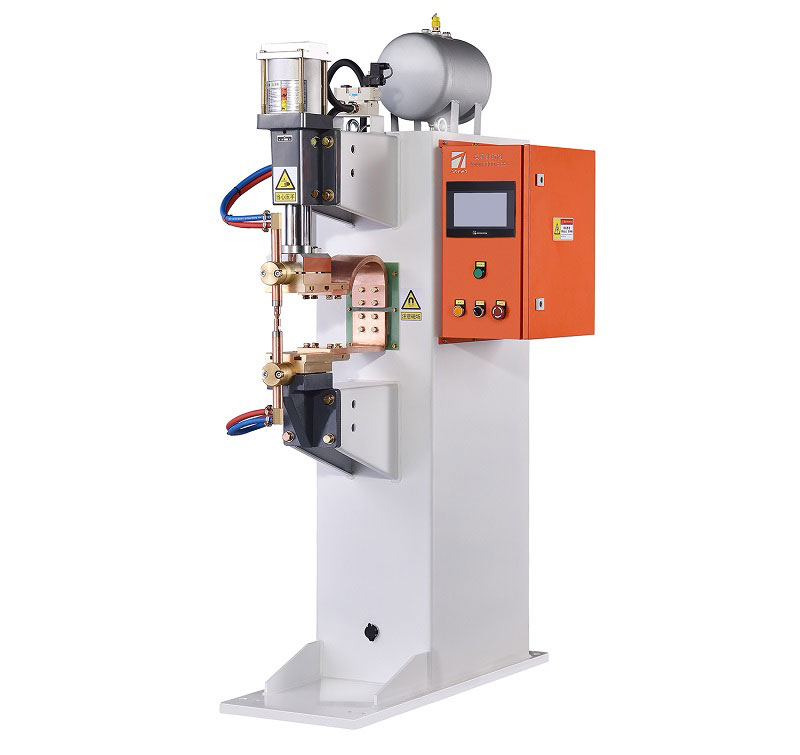
Resistance spot welding is a widely used joining process in manufacturing, and the pre-welding time is a crucial parameter that can significantly impact the quality of the weld. In this article, we will discuss how to adjust the pre-welding time for a resistance spot welding machine to achieve optimal results.
Understanding Pre-welding Time:
Before diving into the adjustment process, it’s essential to understand what pre-welding time is and why it matters. Pre-welding time, also known as squeeze time or hold time, is the duration during which the welding electrodes are in contact with the workpieces before the actual welding current is applied. This period allows the electrodes to exert pressure on the workpieces, creating a tight joint interface and removing any surface contaminants, ensuring a strong and reliable weld.
Factors Influencing Pre-welding Time:
Several factors can influence the appropriate pre-welding time for a given welding application:
- Material Type: Different materials have varying thermal conductivities and electrical resistivities. As a result, they may require different pre-welding times to achieve the desired weld quality.
- Material Thickness: Thicker materials generally require longer pre-welding times to ensure proper heating and material flow.
- Electrode Force: The force applied by the welding electrodes plays a crucial role in determining the required pre-welding time. Higher forces may necessitate longer pre-welding times.
- Electrode Geometry: The shape and size of the welding electrodes can affect the distribution of pressure and current, which can, in turn, influence the necessary pre-welding time.
Adjusting Pre-welding Time:
To adjust the pre-welding time for a resistance spot welding machine, follow these steps:
- Understand Your Materials: Determine the type and thickness of the materials you are welding. Refer to welding guidelines or consult with material experts if necessary.
- Consider Electrode Force: Ensure that the electrode force is appropriately set. If the force is too low, you may need to increase the pre-welding time to compensate for insufficient pressure.
- Experimentation: It’s often necessary to conduct a series of test welds with varying pre-welding times to find the optimal duration for your specific application.
- Inspect Weld Quality: After each test weld, carefully inspect the weld quality. Look for signs of insufficient fusion, excessive spatter, or other defects. The ideal pre-welding time should result in a consistent, high-quality weld.
- Record Findings: Keep a record of the pre-welding times used for each test, along with the corresponding weld quality. This data will help you identify the best pre-welding time for future welds.
- Fine-tuning: Continue to adjust and fine-tune the pre-welding time until you consistently achieve the desired weld quality.
Adjusting the pre-welding time for a resistance spot welding machine is a critical step in achieving high-quality welds. By considering material properties, electrode force, and conducting systematic experimentation, you can find the optimal pre-welding time for your specific welding application. This attention to detail will result in stronger, more reliable welds and improved overall manufacturing efficiency.
Post time: Sep-20-2023


