

Resistance spot welding is a crucial process in various manufacturing industries, and achieving precise control over the welding parameters is essential for producing high-quality welds. One important aspect of this control is adjusting the slow rise and slow fall settings on a resistance spot welding machine. In this article, we will discuss how to make these adjustments effectively to optimize your welding process.
 Understanding the I
Understanding Slow Rise and Slow Fall:
Before diving into the adjustment process, let’s clarify what slow rise and slow fall mean in the context of resistance spot welding.
- Slow Rise: This setting controls the rate at which the welding current increases to its peak value when the welding operation begins. A slow rise is often preferred for delicate or thin materials to minimize the risk of overheating and damage.
- Slow Fall: Slow fall, on the other hand, regulates the rate at which the welding current decreases after reaching its peak. This is crucial for avoiding issues like expulsion or excessive splatter, especially when welding thicker materials.
Adjusting Slow Rise:
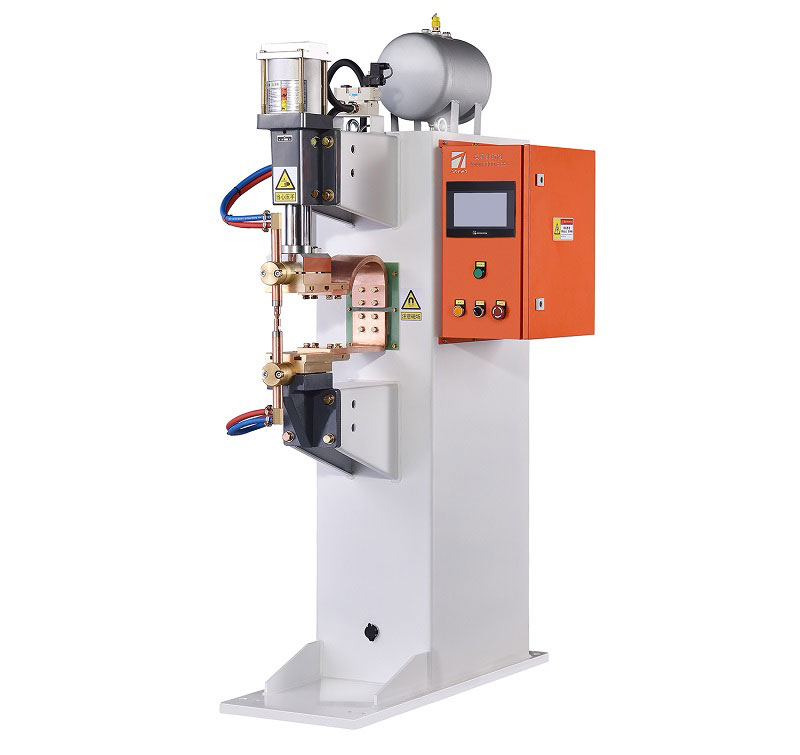
- Access the Control Panel: Start by accessing the control panel of your resistance spot welding machine. This is usually located on the front or side of the machine.
- Locate the Slow Rise Adjustment: Look for the control or dial labeled “Slow Rise” or something similar. It may be a knob or a digital input depending on your machine’s design.
- Initial Setting: If you’re unsure about the ideal setting, it’s a good practice to start with a slower rise rate. Turn the knob or adjust the setting to increase the time it takes for the current to reach its peak.
- Test Weld: Perform a test weld on a scrap piece of the same material you intend to weld. Examine the weld for quality and adjust the slow rise setting incrementally until you achieve the desired result.
Adjusting Slow Fall:
- Access the Control Panel: Similarly, access the control panel of your machine.
- Locate the Slow Fall Adjustment: Find the control or dial labeled “Slow Fall” or a similar designation.
- Initial Setting: Begin with a slower fall rate. Turn the knob or adjust the setting to prolong the time it takes for the current to decrease after reaching its peak.
- Test Weld: Perform another test weld on a scrap piece. Evaluate the weld for quality, paying close attention to issues like expulsion or splatter. Adjust the slow fall setting incrementally until you achieve the desired outcome.
Final Thoughts:
Adjusting the slow rise and slow fall settings on a resistance spot welding machine requires a combination of careful observation and incremental changes. It’s essential to consider the material thickness and type you are working with, as well as the desired weld quality, to make the most effective adjustments.
Remember that these settings may vary from one machine to another, so consulting your machine’s manual or seeking guidance from a welding expert can be beneficial. Properly tuned slow rise and slow fall settings can contribute significantly to the overall quality and consistency of your spot welds, ultimately leading to improved productivity and reduced rework.
Post time: Sep-23-2023


