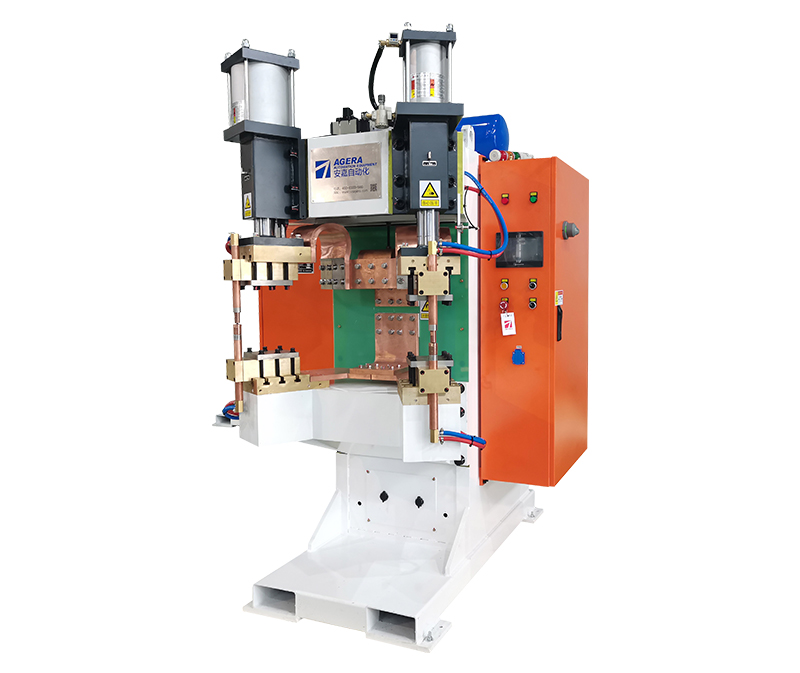
The controller of a nut spot welding machine plays a vital role in ensuring accurate and reliable welding operations. Properly debugging the controller is essential for achieving optimal performance and maintaining consistent weld quality. This article provides a step-by-step guide on how to effectively debug the controller of a nut spot welding machine.
- Initial Inspection: Before proceeding with the controller debugging process, conduct an initial inspection to ensure all electrical connections are secure and there are no visible damages or loose components. Check that the power supply is stable and within the recommended voltage range.
- Familiarize Yourself with the Controller: Gain a thorough understanding of the controller’s functions, parameters, and settings. Refer to the user manual or technical documentation provided by the manufacturer for detailed information. Identify the key components and their respective roles in the welding process.
- Verify Input and Output Signals: Check the input and output signals of the controller to ensure they are functioning correctly. This includes verifying the signals from sensors, switches, and other input devices. Use a multimeter or other appropriate testing equipment to measure voltage, current, and continuity.
- Calibration of Welding Parameters: Calibrate the welding parameters in the controller according to the requirements of the specific welding application. These parameters may include welding current, welding time, electrode force, and pre- and post-heating durations. Refer to the welding specification or industry standards for guidance on appropriate parameter values.
- Testing Welding Operation: Perform test welds using sample workpieces to evaluate the performance of the controller. Observe the weld quality, including penetration, nugget formation, and appearance. Adjust the welding parameters as necessary to achieve the desired weld quality and integrity.
- Fine-tuning Controller Settings: Fine-tune the controller settings based on the results of the test welds. Make gradual adjustments to welding parameters, such as current, time, and force, to optimize the welding process. Monitor the weld quality closely during this phase and record any changes made for future reference.
- Continual Monitoring and Maintenance: Once the controller has been debugged and the welding parameters have been set, it is important to continually monitor the performance of the controller and conduct regular maintenance. Periodically check the controller’s functionality, inspect electrical connections, and clean or replace any worn-out components.
Effective debugging of the controller in a nut spot welding machine is crucial for achieving consistent and high-quality welds. By following the step-by-step guide outlined above, operators can ensure that the controller is properly calibrated, welding parameters are optimized, and the welding process is fine-tuned to meet the specific requirements of the application. Regular monitoring and maintenance of the controller will help maintain its performance and reliability over time.
Post time: Jun-20-2023


