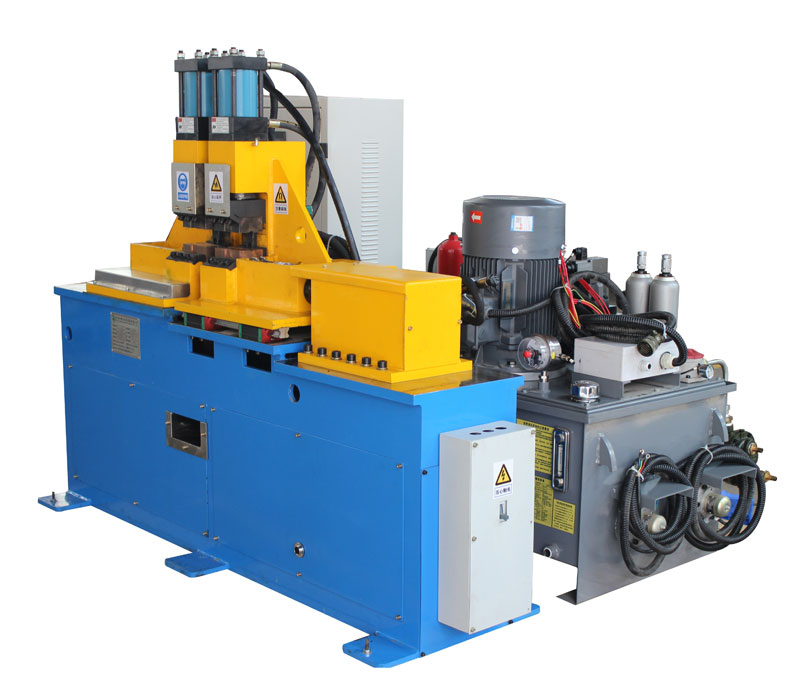
Ensuring welding quality is paramount in butt welding machines to guarantee the integrity and reliability of welded joints. Proper detection methods are essential to identify potential defects and deviations that might compromise weld performance. This article explores the techniques used to detect welding quality in butt welding machines, highlighting their significance in maintaining high standards of weld integrity.
- Visual Inspection: Visual inspection is the most straightforward and initial method to detect welding quality. Skilled welders and inspectors carefully examine the weld bead’s appearance, looking for visible defects such as cracks, porosity, incomplete fusion, or irregularities in the bead profile.
- Penetrant Testing (PT): Penetrant testing is a non-destructive testing (NDT) method that involves applying a liquid penetrant to the weld surface. After a specific dwell time, excess penetrant is removed, and a developer is applied to draw out any penetrant trapped in surface defects. This method can identify fine surface cracks and defects that may not be visible to the naked eye.
- Magnetic Particle Testing (MT): Magnetic particle testing is another NDT technique used for detecting surface and near-surface defects. The weld surface is magnetized, and magnetic particles are applied. When defects are present, the magnetic particles gather and form visible indications, allowing inspectors to assess the weld quality.
- Ultrasonic Testing (UT): Ultrasonic testing is a volumetric NDT method that utilizes high-frequency sound waves to inspect welds. Ultrasonic waves are transmitted into the weld, and any internal defects or discontinuities reflect the waves back to a receiver. This method is excellent for detecting internal defects and assessing weld soundness.
- Radiographic Testing (RT): Radiographic testing involves passing X-rays or gamma rays through the weld and recording the transmitted radiation on film or digital detectors. This method can detect internal defects such as voids, inclusions, and lack of fusion, providing detailed information about the weld’s internal structure.
- Tensile Testing: Tensile testing involves subjecting a sample weld to a controlled tensile force until it fractures. This test helps evaluate the weld’s mechanical properties, such as ultimate tensile strength and elongation, and provides insights into the weld’s overall strength and performance.
- Bend Testing: Bend testing is used to assess the ductility and soundness of welds. A section of the weld is bent to a specific radius to see if any cracks or defects appear on the outer surface. This test is particularly useful for detecting defects in welds that might not be evident from visual inspection.
In conclusion, detecting welding quality in butt welding machines is crucial for ensuring reliable and high-performance welded joints. Visual inspection provides an initial assessment, while various non-destructive testing methods like PT, MT, UT, and RT offer more in-depth insights into weld integrity. Tensile testing and bend testing provide valuable information about the weld’s mechanical properties and ductility. By utilizing these detection techniques, welding operators and inspectors can uphold stringent quality standards, identify potential defects, and make informed decisions to rectify any issues, ensuring consistent and dependable welding performance in various applications.
Post time: Jul-25-2023


