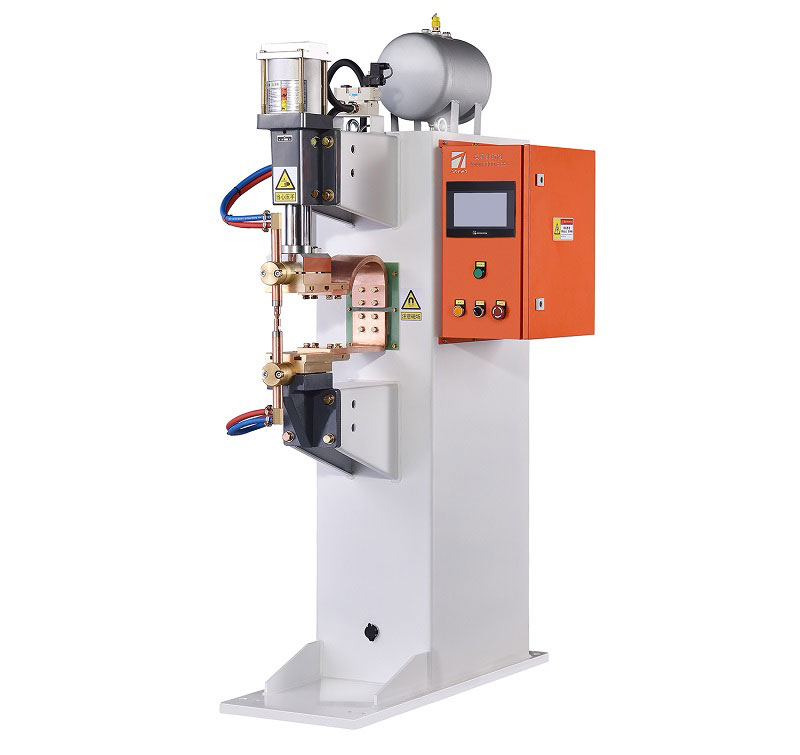
Resistance welding is a widely used process in various industries, known for its efficiency and reliability in joining metal components. To ensure precise and consistent welds, it’s essential to have a well-functioning control system in place. In this article, we will discuss the installation of a resistance welding machine controller, highlighting the key steps and considerations.
Step 1: Preparing the Workspace
Before beginning the installation, it’s crucial to create a clean and organized workspace. Ensure that the welding machine and controller are placed on a stable and level surface. Clear any obstructions and make sure there’s adequate ventilation to dissipate heat generated during welding.
Step 2: Unpacking and Inspection
Carefully unpack the resistance welding machine controller and inspect it for any visible damage. Check that all components and accessories are included as per the manufacturer’s documentation. It’s essential to start with a fully intact and functional system.
Step 3: Mounting the Controller
Depending on the specific model and design, the controller may need to be mounted to a wall or a dedicated stand. Follow the manufacturer’s instructions for the correct mounting procedure. Ensure that it’s securely fixed to prevent any vibrations during operation.
Step 4: Power Supply Connection
The controller typically requires a stable power supply. Ensure that the power source matches the controller’s specifications, and use appropriate wiring and connectors. Always follow electrical safety guidelines to prevent accidents.
Step 5: Sensor and Electrode Connection
Connect the necessary sensors and electrodes to the controller as per the provided wiring diagram. Properly secure the connections to avoid any loose or frayed wires that could lead to malfunctions or safety hazards.
Step 6: Control Panel Configuration
Access the control panel on the resistance welding machine controller. Depending on the complexity of the controller, configure the welding parameters such as current, voltage, and welding time. Calibration may be necessary for precise welding results. Follow the controller’s user manual for guidance on parameter settings.
Step 7: Testing and Calibration
Before putting the welding machine into production, conduct a series of test welds using scrap materials. Monitor the weld quality, and make adjustments to the controller settings as needed to achieve the desired results. Proper calibration ensures consistent and reliable welds.
Step 8: Safety Precautions
Always prioritize safety during the installation process and subsequent operations. Provide operators with appropriate personal protective equipment (PPE) and training. Ensure that emergency stop mechanisms and safety interlocks are in place and functioning correctly.
Step 9: Documentation
Keep detailed records of the installation process, including wiring diagrams, calibration settings, and safety checks. This documentation will be valuable for future reference and troubleshooting.
In conclusion, the installation of a resistance welding machine controller is a critical step in ensuring the efficiency and quality of welding operations. By following these steps and adhering to safety protocols, you can achieve precise and reliable welds, contributing to the success of your manufacturing processes.
Post time: Sep-28-2023


