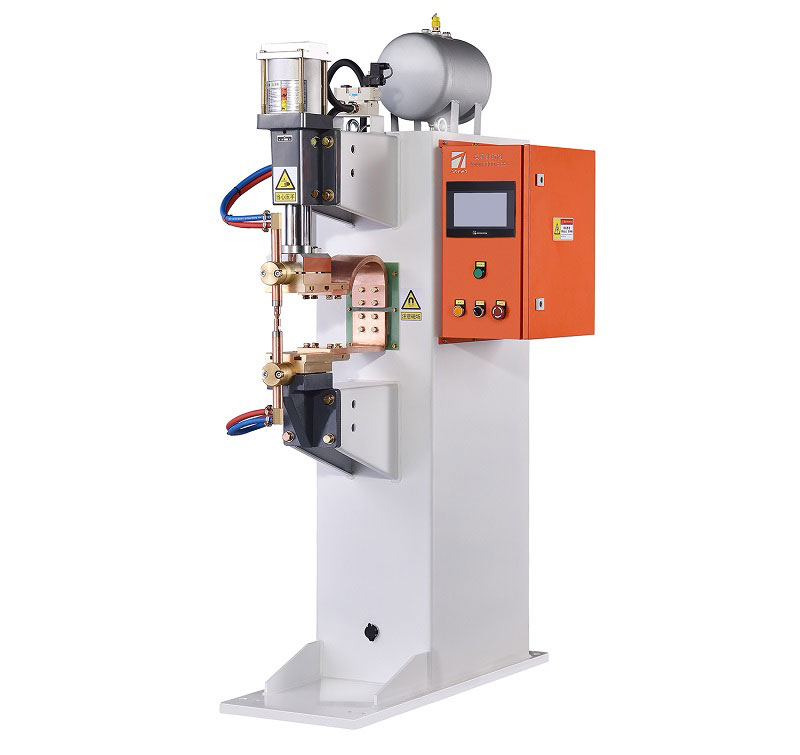
The installation of a resistance spot welding machine controller is a crucial step in setting up a welding system for various industrial applications. This controller is responsible for managing the welding parameters and ensuring precise and efficient spot welding. In this article, we will walk you through the step-by-step installation process of a resistance spot welding machine controller.
Step 1: Safety First
Before starting the installation process, it’s essential to prioritize safety. Ensure that you have the necessary personal protective equipment (PPE), such as safety glasses and gloves, to protect yourself during the installation.
Step 2: Unpack and Inspect
Carefully unpack the resistance spot welding machine controller and inspect it for any visible damage during shipping. If you notice any damage, contact the manufacturer or supplier immediately.
Step 3: Mounting
Choose a suitable location for mounting the controller. It should be installed in a clean, dry, and well-ventilated area away from excessive heat, moisture, or direct sunlight. Ensure that there is enough space around the controller for proper ventilation.
Step 4: Power Supply
Connect the power supply to the controller according to the manufacturer’s specifications. It’s crucial to provide a stable and clean power source to ensure the controller’s reliable operation.
Step 5: Wiring
Follow the provided wiring diagram to connect the controller to the welding machine and other relevant components, such as the welding gun and workpiece clamp. Pay close attention to wire color coding and ensure all connections are secure.
Step 6: Control Interface
Connect the control interface, which may include a touchscreen panel or a keypad, to the controller. This interface allows you to input welding parameters and monitor the welding process.
Step 7: Grounding
Properly ground the resistance spot welding machine controller to prevent electrical hazards and ensure stable operation. Use the provided grounding points and follow the manufacturer’s instructions.
Step 8: Testing
After completing the installation, perform a series of tests to verify that the controller is functioning correctly. Test various welding parameters and monitor the welding process to ensure precision and consistency.
Step 9: Calibration
Calibrate the controller according to the specific requirements of your welding application. This may involve adjusting settings for weld time, current, and pressure to achieve the desired weld quality.
Step 10: Training
Train your operators on how to use the resistance spot welding machine controller effectively. Ensure they are familiar with the control interface and understand how to make adjustments as needed for different welding tasks.
The proper installation of a resistance spot welding machine controller is essential for achieving high-quality welds and ensuring the safety of your welding operations. By following these steps and adhering to the manufacturer’s instructions, you can set up a reliable and efficient welding system that meets your production needs. Remember that regular maintenance and periodic checks are crucial to keeping the controller in optimal working condition.
Post time: Sep-12-2023


