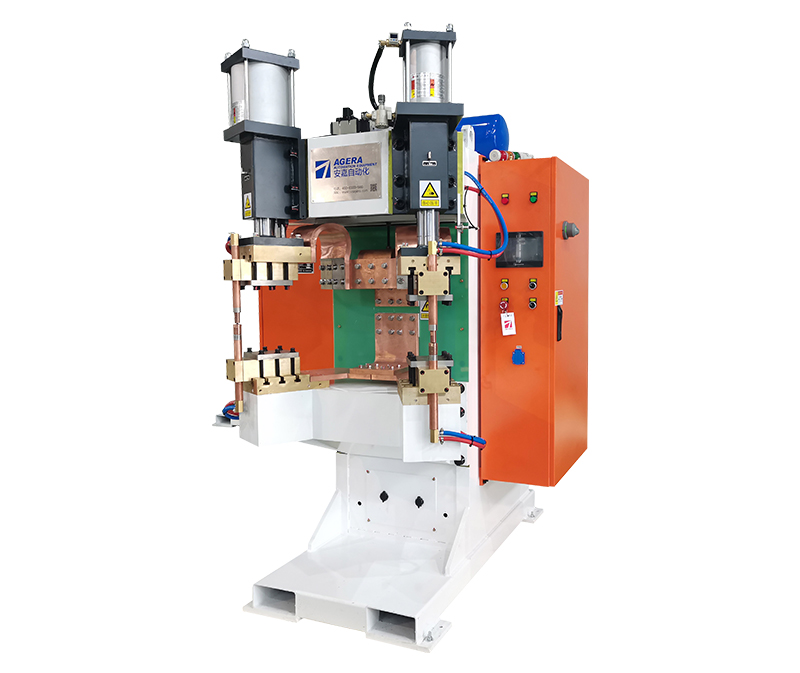
Quality inspection plays a crucial role in ensuring the reliability and performance of nut projection welding machines. It involves assessing the integrity of welded joints, verifying dimensional accuracy, and identifying potential defects. In this article, we will provide an overview of the quality inspection process in nut projection welding machines.
- Visual Inspection: Visual inspection is the initial step in quality assessment. Operators visually examine the weld joints to detect any visible defects such as cracks, porosity, incomplete fusion, or excessive spatter. They also check for proper alignment, penetration depth, and overall weld appearance.
- Dimensional Inspection: Dimensional inspection focuses on verifying the dimensional accuracy of the welded nuts. This includes measuring the diameter, height, and other critical dimensions of the welded nut to ensure it conforms to the required specifications. Calipers, micrometers, and other precision measuring tools are commonly used for this purpose.
- Torque Testing: Torque testing is performed to assess the strength and reliability of the welded nuts. It involves applying a specific torque to the nut and measuring the resistance to rotation. This test ensures that the nut can withstand the required torque without loosening or compromising joint integrity.
- Pull Testing: Pull testing is conducted to evaluate the tensile strength of the weld joint. A specialized testing apparatus is used to apply a controlled force to the welded nut, simulating the forces it may encounter during actual usage. The applied force is gradually increased until the joint fails or reaches the desired strength level.
- Ultrasonic Testing: Ultrasonic testing utilizes high-frequency sound waves to detect internal defects in the weld joint. An ultrasonic probe is used to send sound waves through the nut, and the reflected waves are analyzed to identify any discontinuities, such as voids or inclusions. This non-destructive testing method provides valuable insights into the internal quality of the weld.
- Radiographic Testing: Radiographic testing involves the use of X-rays or gamma rays to examine the internal structure of the weld joint. It is particularly useful for detecting hidden defects such as cracks or incomplete fusion. The radiographic images provide detailed information about the integrity and quality of the weld.
- Documentation and Record Keeping: Proper documentation of inspection results is essential for traceability and quality control. Detailed records of inspection findings, including visual observations, measurement data, test results, and any necessary corrective actions, should be maintained for future reference.
Quality inspection in nut projection welding machines plays a vital role in ensuring the reliability and performance of welded joints. By performing visual inspections, dimensional measurements, torque testing, pull testing, ultrasonic testing, and radiographic testing, manufacturers can assess the quality of the welds and identify any defects or deviations. Documentation and record-keeping further support traceability and continuous improvement efforts. By implementing robust quality inspection processes, manufacturers can deliver high-quality welded nuts that meet or exceed customer expectations.
Post time: Jul-11-2023


