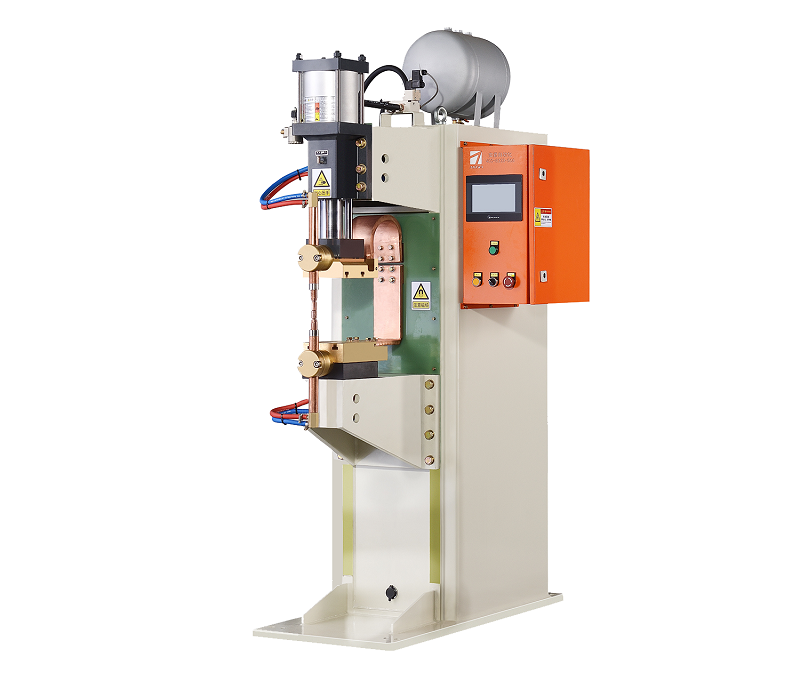
X-ray inspection is a widely used non-destructive testing (NDT) method in the field of welding, particularly in medium frequency inverter spot welding machines. By utilizing X-rays to penetrate and examine the internal structure of welds, this technique allows for the detection of defects and quality assessment without the need for disassembly or damage to the welded components. This article provides an overview of X-ray inspection in medium frequency inverter spot welding machines and highlights its significance in ensuring weld quality.

- Principle of X-ray Inspection: X-ray inspection is based on the principle of X-ray penetration. X-ray beams, produced by an X-ray generator, are directed towards the weld area. When X-rays encounter different materials or defects within the weld, they are absorbed or scattered to varying degrees. A detector on the opposite side of the weld captures the transmitted X-rays, forming an image that reveals the internal structure and potential defects.
- Equipment and Setup: X-ray inspection requires specialized equipment, including an X-ray generator, collimators, filters, and a high-resolution detector. The weld specimen is positioned between the X-ray source and the detector, with appropriate safety measures in place to protect operators from radiation exposure. The X-ray parameters, such as voltage, current, and exposure time, are set based on the material thickness and desired sensitivity.
- Defect Detection: X-ray inspection is capable of detecting various types of defects, including cracks, porosity, lack of fusion, incomplete penetration, and inclusions. These defects appear as contrasting features in the X-ray image, allowing inspectors to identify their size, shape, and location within the weld. Advanced image processing techniques can enhance the visibility of defects and facilitate their analysis.
- Quality Assessment: X-ray inspection provides valuable information for assessing the quality of welds. By analyzing the X-ray image, inspectors can determine if the weld meets the required standards and specifications. They evaluate the presence and severity of defects, assess the integrity of the weld structure, and make decisions regarding the acceptability of the weld based on established criteria.
- Advantages and Considerations: X-ray inspection offers several advantages, such as the ability to inspect complex and hidden welds, non-contact testing, and high sensitivity to internal defects. However, it also requires specialized training and expertise to interpret the X-ray images accurately. Safety precautions must be strictly followed to ensure radiation safety for operators and the surrounding environment.
X-ray inspection is a powerful non-destructive testing method used in medium frequency inverter spot welding machines. By utilizing X-rays to examine the internal structure of welds, it enables the detection of defects and assessment of weld quality. X-ray inspection plays a crucial role in ensuring the integrity and reliability of welded components, contributing to the overall safety and performance of welded structures in various industries.
Post time: May-23-2023


