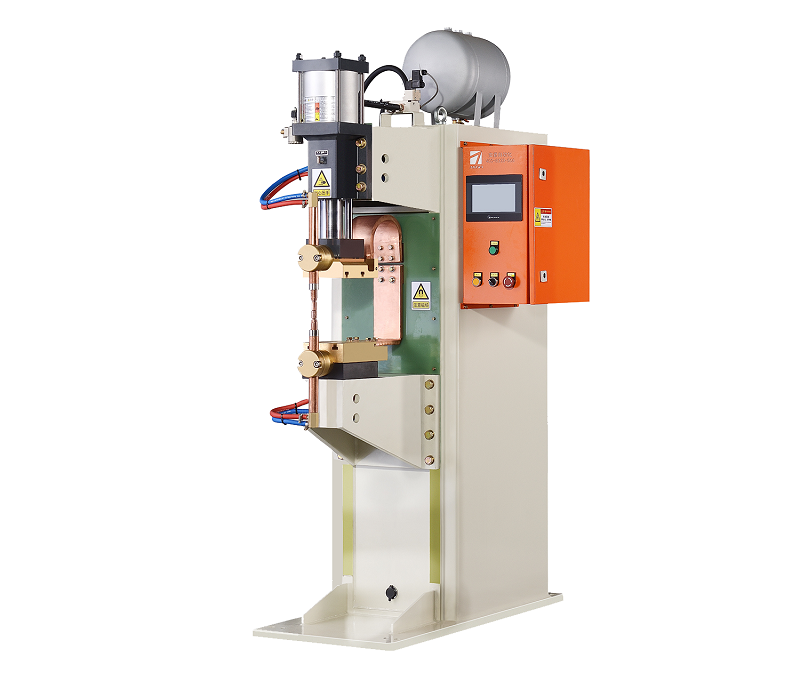
Physical inspection methods are essential in the evaluation of joints created by medium frequency inverter spot welding machines. These methods involve the direct examination and measurement of the physical properties and characteristics of the welded joints. This article provides an overview of the physical inspection methods commonly employed in medium frequency inverter spot welding machines and their significance in assessing joint quality.

- Visual Inspection: Visual inspection is the most basic and widely used method for examining welded joints. It involves a visual examination of the joint surface and surrounding areas to detect visible defects such as cracks, surface irregularities, spatter, and discoloration. Experienced inspectors assess the appearance of the joint, ensuring that it meets the required standards and specifications.
- Dimensional Measurements: Dimensional measurements are performed to verify the accuracy and conformance of the joint dimensions. This involves using precision measuring tools such as calipers, micrometers, and gauges to measure critical dimensions such as weld length, width, height, and throat thickness. Deviations from the specified dimensions can indicate potential issues with the weld quality.
- Hardness Testing: Hardness testing is employed to assess the hardness properties of the joint material. Various hardness testing methods, such as Rockwell, Vickers, or Brinell hardness testing, can be utilized depending on the material and the desired accuracy. Hardness measurements provide insight into the joint’s strength, resistance to deformation, and potential for cracking.
- Microscopic Examination: Microscopic examination involves the use of optical or electron microscopes to magnify and inspect the microstructure of the joint. This technique enables inspectors to assess the grain structure, weld fusion, and the presence of inclusions or other microstructural anomalies. Microscopic examination provides valuable information about the metallurgical characteristics and integrity of the joint.
- Dye Penetrant Testing: Dye penetrant testing is a non-destructive method used to detect surface-breaking defects in joints. It involves applying a colored dye to the joint surface, allowing it to penetrate into any surface cracks or discontinuities. Excess dye is then removed, and a developer is applied to reveal any indications of defects. This method is effective in detecting fine cracks that may not be visible to the naked eye.
Physical inspection methods play a crucial role in evaluating the quality and integrity of joints created by medium frequency inverter spot welding machines. Visual inspection, dimensional measurements, hardness testing, microscopic examination, and dye penetrant testing are among the commonly used methods. By employing these techniques, inspectors can identify visible and subsurface defects, assess dimensional accuracy, evaluate hardness properties, and examine the microstructure of the joint. The combination of these physical inspection methods provides a comprehensive assessment of joint quality and ensures the reliability and performance of welded components in various industries.
Post time: May-24-2023


