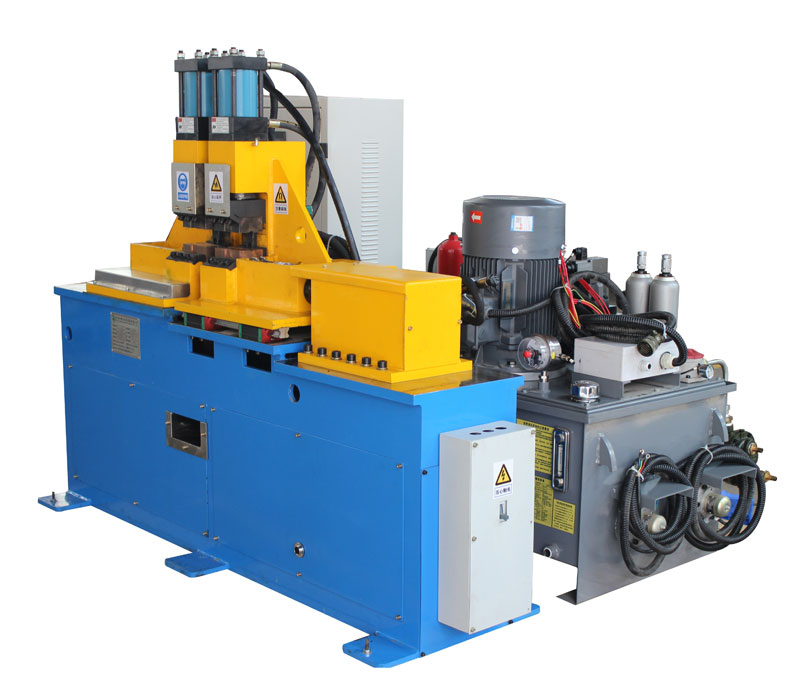
Conducting post-weld quality inspections is a crucial step in butt welding machines to ensure the integrity and reliability of welds. Understanding the process of post-weld quality inspection is essential for welders and professionals in the welding industry to identify and rectify any defects or issues in the welding process. This article explores the steps involved in post-weld quality inspection for butt welding machines, highlighting the significance of this process in achieving high-quality welds.
- Visual Inspection: Visual inspection is the initial step in post-weld quality assessment. Welders closely examine the weld bead, looking for any visible defects such as cracks, porosity, incomplete fusion, or surface irregularities. Proper lighting and inspection tools aid in identifying potential flaws.
- Dimensional Measurements: Measurements of critical weld dimensions are taken to verify compliance with the welding specifications and joint design. This step ensures that the weld meets the required tolerances and geometric parameters.
- Non-Destructive Testing (NDT): Non-destructive testing methods, such as ultrasonic testing, radiographic testing, and dye penetrant testing, are employed to detect subsurface defects and discontinuities that may not be apparent through visual inspection alone. NDT is crucial in identifying defects that could compromise the weld’s structural integrity.
- Mechanical Testing: Mechanical testing involves subjecting the welds to specific loads or stress to evaluate their mechanical properties. Tensile testing, hardness testing, and impact testing are common methods used to assess the weld’s strength, hardness, and toughness.
- Microscopic Examination: Microscopic examination allows for a closer examination of the weld’s microstructure. This analysis helps identify potential grain structure anomalies, segregation, and phase changes that may affect the weld’s mechanical properties.
- Post-Weld Heat Treatment (PWHT): For certain critical applications, post-weld heat treatment may be performed after the welding process. PWHT helps relieve residual stresses and improves the weld’s mechanical properties, enhancing its overall integrity.
- Visual Documentation: Accurate and detailed documentation of the inspection findings is essential for record-keeping and future reference. Photos, measurement records, and test results are documented to maintain a comprehensive inspection history.
- Compliance Verification: Post-weld quality inspection ensures that the welds meet the relevant industry standards, codes, and customer specifications. Compliance verification is essential for certifying the quality and safety of the welded components.
In conclusion, conducting post-weld quality inspection is a critical aspect of butt welding machines to ensure weld integrity and reliability. Visual inspection, dimensional measurements, non-destructive testing, mechanical testing, microscopic examination, post-weld heat treatment, and compliance verification are all integral steps in this process. By adhering to rigorous quality inspection procedures, welders and professionals can identify and address any defects or issues in the welding process, leading to high-quality welds that meet industry standards and customer requirements. The significance of post-weld quality inspection underscores its role in achieving weld excellence and contributing to the advancement of welding technology in various industrial applications.
Post time: Jul-28-2023


