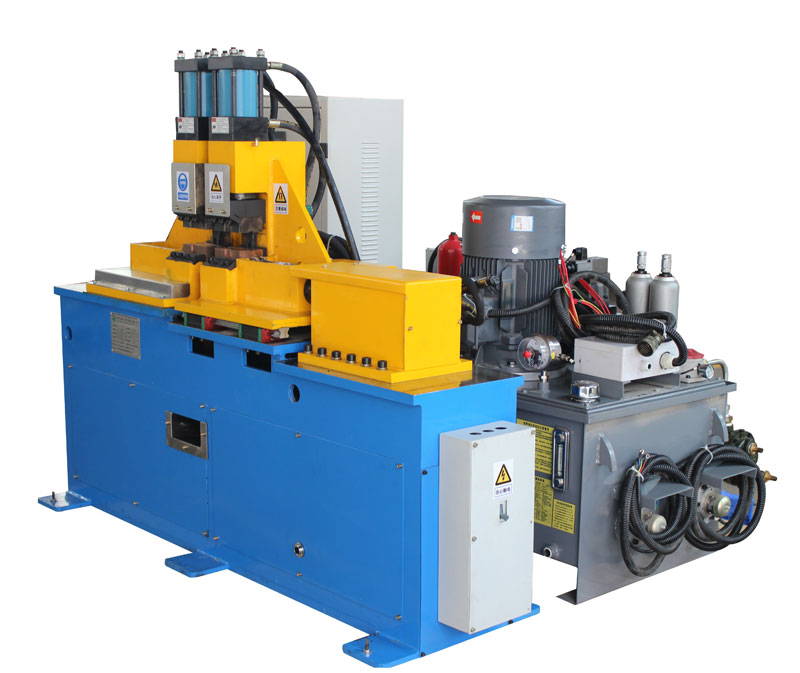
Flash butt welding is a widely used method for joining metal components, especially in the automotive, aerospace, and construction industries. The quality of these weld joints is of paramount importance, as it directly affects the structural integrity and performance of the final product. In this article, we will explore the key aspects of inspecting the quality of flash butt welding joints.
- Visual Inspection: Visual inspection is the first step in evaluating the quality of flash butt welding joints. Inspectors examine the surface of the welded joint for irregularities such as cracks, porosity, and spatter. These visual cues can provide early indications of potential defects in the weld.
- Dimensional Inspection: Dimensional inspection involves measuring the weld joint’s dimensions to ensure they meet the specified tolerances. This includes checking the width, length, and alignment of the weld. Any deviations from the design specifications may signify a need for further investigation.
- Penetrant Testing: Penetrant testing is a non-destructive testing method used to detect surface-breaking defects in flash butt welding joints. A penetrant solution is applied to the weld surface, which seeps into any surface cracks or imperfections. After a specified time, the excess penetrant is removed, and a developer is applied to reveal any indications of defects.
- Radiographic Testing: Radiographic testing uses X-rays or gamma rays to inspect the internal structure of flash butt welding joints. This method can identify subsurface defects, voids, and inclusions that are not visible through visual inspection. Radiography provides valuable insights into the overall integrity of the weld.
- Ultrasonic Testing: Ultrasonic testing involves sending high-frequency sound waves through the weld joint. When the sound waves encounter a change in material density, they reflect back, creating a visual representation of the internal structure of the weld. This method is highly effective in detecting flaws and discontinuities.
- Tensile Testing: Tensile testing involves subjecting a sample of the flash butt welding joint to controlled stress until it fails. This test helps determine the joint’s mechanical properties, such as tensile strength and elongation. It is essential for assessing the weld’s structural integrity.
- Microstructural Analysis: Microstructural analysis involves examining a cross-section of the weld joint under a microscope. This analysis can reveal the grain structure, heat-affected zones, and any potential defects that are not visible to the naked eye. It provides valuable information about the metallurgical properties of the weld.
In conclusion, the quality inspection of flash butt welding joints is a critical step in ensuring the reliability and safety of welded components. Employing a combination of visual, dimensional, non-destructive, and destructive testing methods allows for a comprehensive evaluation of the weld’s quality. By implementing rigorous inspection processes, manufacturers can maintain high standards of quality and produce components that meet or exceed industry standards.
Post time: Oct-28-2023


