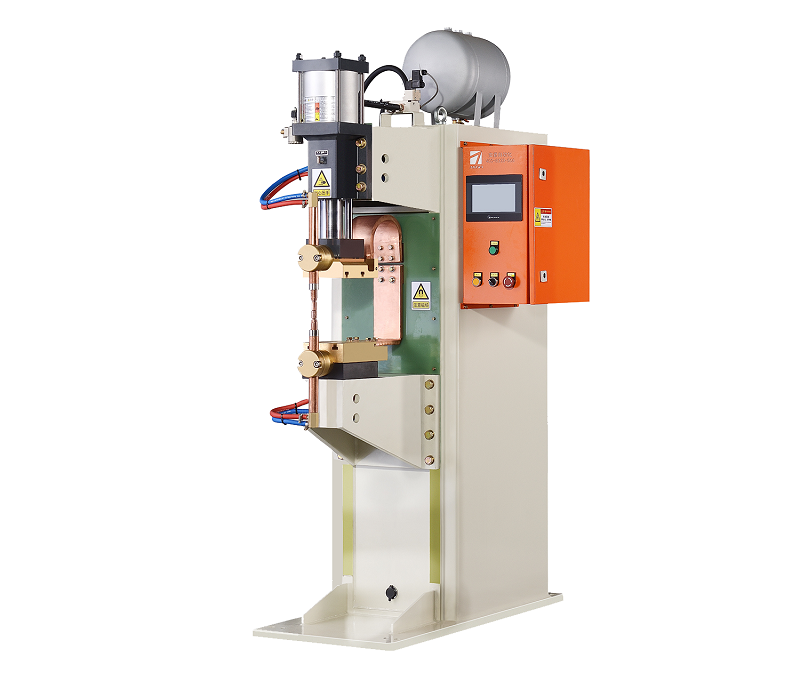
Mid-frequency spot welding machines play a crucial role in various industries by creating strong and durable welds. The quality of the welds is of paramount importance to ensure the structural integrity and reliability of the welded components. This article discusses the methods and techniques employed for inspecting the quality of welds produced by mid-frequency spot welding machines.

Visual Inspection
Visual inspection is the most basic yet vital method for assessing the quality of welds. Inspectors examine the welds for visible defects such as cracks, porosity, insufficient penetration, and irregularities in the weld bead. A trained eye can often identify surface-level issues that might affect the weld’s performance. However, visual inspection alone may not catch internal defects that can compromise weld integrity.
X-ray Inspection
X-ray inspection is a non-destructive testing method that provides a comprehensive view of both the external and internal weld quality. X-ray images reveal hidden defects like voids, inclusions, and improper fusion. This method is particularly effective for critical welds where structural soundness is imperative. Advanced digital radiography techniques allow for precise analysis and accurate defect identification.
Ultrasonic Testing
Ultrasonic testing involves sending high-frequency sound waves through the weld and observing their reflections to identify internal flaws. This method can detect defects such as lack of fusion, cracks, and incomplete penetration. Ultrasonic testing is fast and accurate, making it suitable for high-volume production environments. It offers real-time results and aids in determining the weld’s overall integrity.
Destructive Testing
In cases where weld quality assurance is paramount, destructive testing can be employed. This involves physically testing the weld joint’s properties through methods like tensile testing, bend testing, and impact testing. While this approach provides definitive results, it involves sacrificing the tested component. Destructive testing is often used for weld procedure qualification to ensure compliance with industry standards.
Automated Inspection
Advancements in technology have led to the development of automated inspection systems. These systems use cameras, sensors, and algorithms to assess weld quality in real time. They can identify defects with high precision and consistency, reducing the likelihood of human error. Automated inspection is especially useful for maintaining quality in mass production scenarios.
The quality of welds produced by mid-frequency spot welding machines is crucial for the structural integrity and performance of welded components. Various inspection methods, including visual inspection, X-ray inspection, ultrasonic testing, and even automated inspection, contribute to ensuring weld quality. Combining these techniques based on the specific requirements of each application helps in producing reliable and durable welds that meet industry standards.
Post time: Aug-30-2023


