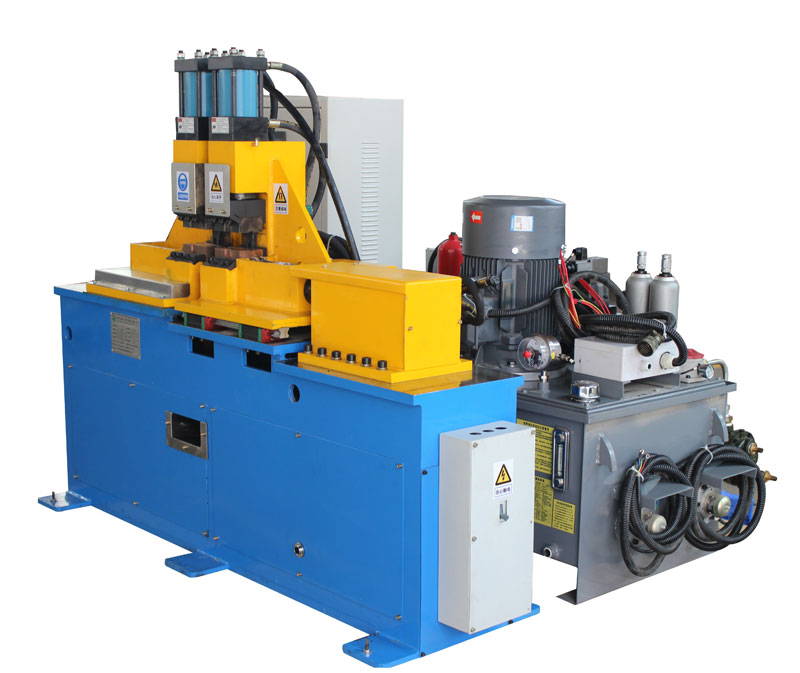
Flash butt welding is a vital process in various industries, where the quality of welds directly impacts the safety and reliability of the final products. Ensuring the consistent performance of flash butt welding machines is essential for maintaining high-quality welds. In this article, we will explore the importance of quality monitoring in flash butt welding machines, its significance in different applications, and the methods employed to achieve this.
Importance of Quality Monitoring:
Flash butt welding machines are commonly used in the manufacturing of steel products, railway tracks, and even aerospace components. The welds produced by these machines must meet stringent quality standards to ensure the structural integrity and longevity of the finished products. Any defects or inconsistencies in the welding process can compromise the safety and performance of these products, making quality monitoring of flash butt welding machines indispensable.
Significance in Different Applications:
- Railway Industry: In the railway industry, flash butt welding is used to join tracks, ensuring smooth and secure connections. Quality monitoring helps identify defects such as cracks, inclusions, or improper alignment, which can lead to derailments or costly track maintenance.
- Aerospace Sector: Flash butt welding is used in the aerospace sector to create strong, lightweight joints for critical components. Monitoring the quality of these welds ensures the structural integrity of the aircraft, reducing the risk of catastrophic failures.
- Automotive Manufacturing: Flash butt welding is employed in the automotive industry to assemble various parts of a vehicle. Quality monitoring is crucial to avoid issues such as poor structural strength or compromised safety in the event of a collision.
Methods for Quality Monitoring:
- Visual Inspection: Skilled inspectors use visual techniques to identify surface defects, irregularities, or misalignments in welds. They may employ tools like magnifiers, cameras, and specialized lighting to aid their assessments.
- Ultrasonic Testing: Ultrasonic testing involves sending high-frequency sound waves through the weld area. By analyzing the reflections of these waves, inspectors can detect internal defects or inconsistencies in the weld.
- X-ray and Radiographic Inspection: This non-destructive method uses X-rays to produce images of the weld, revealing internal defects like voids, inclusions, or cracks.
- Eddy Current Testing: Eddy current testing measures changes in electrical conductivity caused by defects in the weld. It is particularly effective for detecting surface cracks and irregularities.
- Magnetic Particle Inspection: Magnetic particles are applied to the weld, and any irregularities create a visible pattern. This method is commonly used for ferromagnetic materials.
- Infrared Thermography: Infrared cameras capture the heat signature of the weld, revealing irregularities or inconsistencies in the thermal distribution, which may indicate defects.
Quality monitoring of flash butt welding machines is essential for maintaining the structural integrity and safety of products in numerous industries. By employing various inspection methods, manufacturers can ensure that welds meet the highest standards, reducing the risk of failures and costly rework. Consistent and reliable quality monitoring is a fundamental part of the manufacturing process and plays a pivotal role in producing safe and dependable products.
Post time: Oct-28-2023


