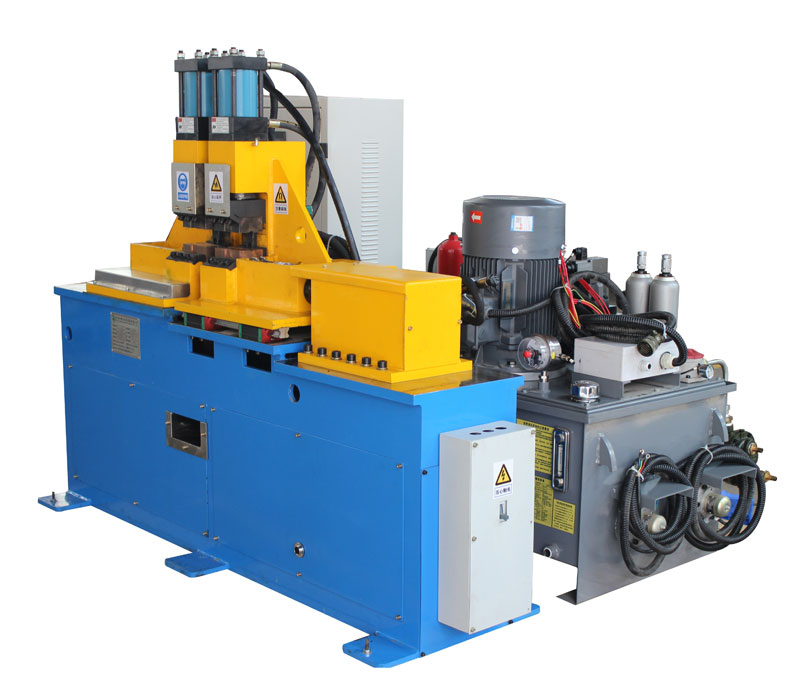
Butt welding machines, like any other industrial equipment, may encounter occasional malfunctions that can disrupt welding operations. Efficiently diagnosing and rectifying these faults is crucial to minimize downtime and maintain productivity. This article provides a comprehensive guide on troubleshooting butt welding machine faults, emphasizing key steps and considerations to identify and repair issues effectively.
Title Translation: “Troubleshooting Butt Welding Machine Faults: A Comprehensive Guide”
Troubleshooting Butt Welding Machine Faults: A Comprehensive Guide
- Initial Assessment: When a fault is detected, begin by conducting an initial assessment of the machine’s performance. Observe any unusual behavior, abnormal sounds, or error messages displayed on the control panel.
- Safety Precautions: Before attempting any inspection or repair, ensure that the butt welding machine is turned off and safely disconnected from the power source. Wear appropriate personal protective equipment (PPE) to safeguard against potential hazards.
- Visual Inspection: Perform a thorough visual inspection of the machine’s components, including cables, connectors, electrodes, clamping mechanisms, and the cooling system. Look for loose connections, signs of damage, or worn-out parts.
- Electrical Checks: Inspect the electrical system, such as the power supply unit and control circuits, for any faulty wiring or blown fuses. Use a multimeter to test the continuity and voltage at critical points.
- Cooling System Examination: Assess the cooling system for blockages, leaks, or insufficient coolant levels. Clean or replace filters and check the cooling pump’s functionality to ensure proper heat dissipation.
- Electrode Inspection: Examine the welding electrodes for signs of wear, deformation, or damage. Replace worn-out electrodes promptly to maintain optimal weld quality.
- Control Panel Review: Inspect the control panel settings and programming to verify that the welding parameters are correctly configured. Adjust any settings if necessary based on the welding requirements.
- Software Updates: For automated butt welding machines with programmable controllers, ensure that the software is up-to-date. Check for any firmware updates or patches released by the manufacturer to address known issues.
- Welding Environment: Assess the welding environment for potential causes of the fault, such as poor ventilation, excessive humidity, or electromagnetic interference.
- Troubleshooting Documentation: Refer to the butt welding machine’s troubleshooting documentation and user manual for guidance on common issues and their resolutions.
- Professional Assistance: If the fault remains unresolved or appears to be beyond the scope of in-house expertise, seek assistance from qualified technicians or the machine’s manufacturer for further diagnosis and repair.
In conclusion, troubleshooting butt welding machine faults requires a systematic approach and careful assessment of various components and systems. By following the steps outlined in this comprehensive guide, operators and maintenance personnel can effectively diagnose and address malfunctions, ensuring minimal downtime and optimal welding performance. Emphasizing the significance of regular maintenance and troubleshooting practices supports the welding industry in maintaining reliable and efficient butt welding machines, contributing to improved productivity and weld quality.
Post time: Jul-31-2023


